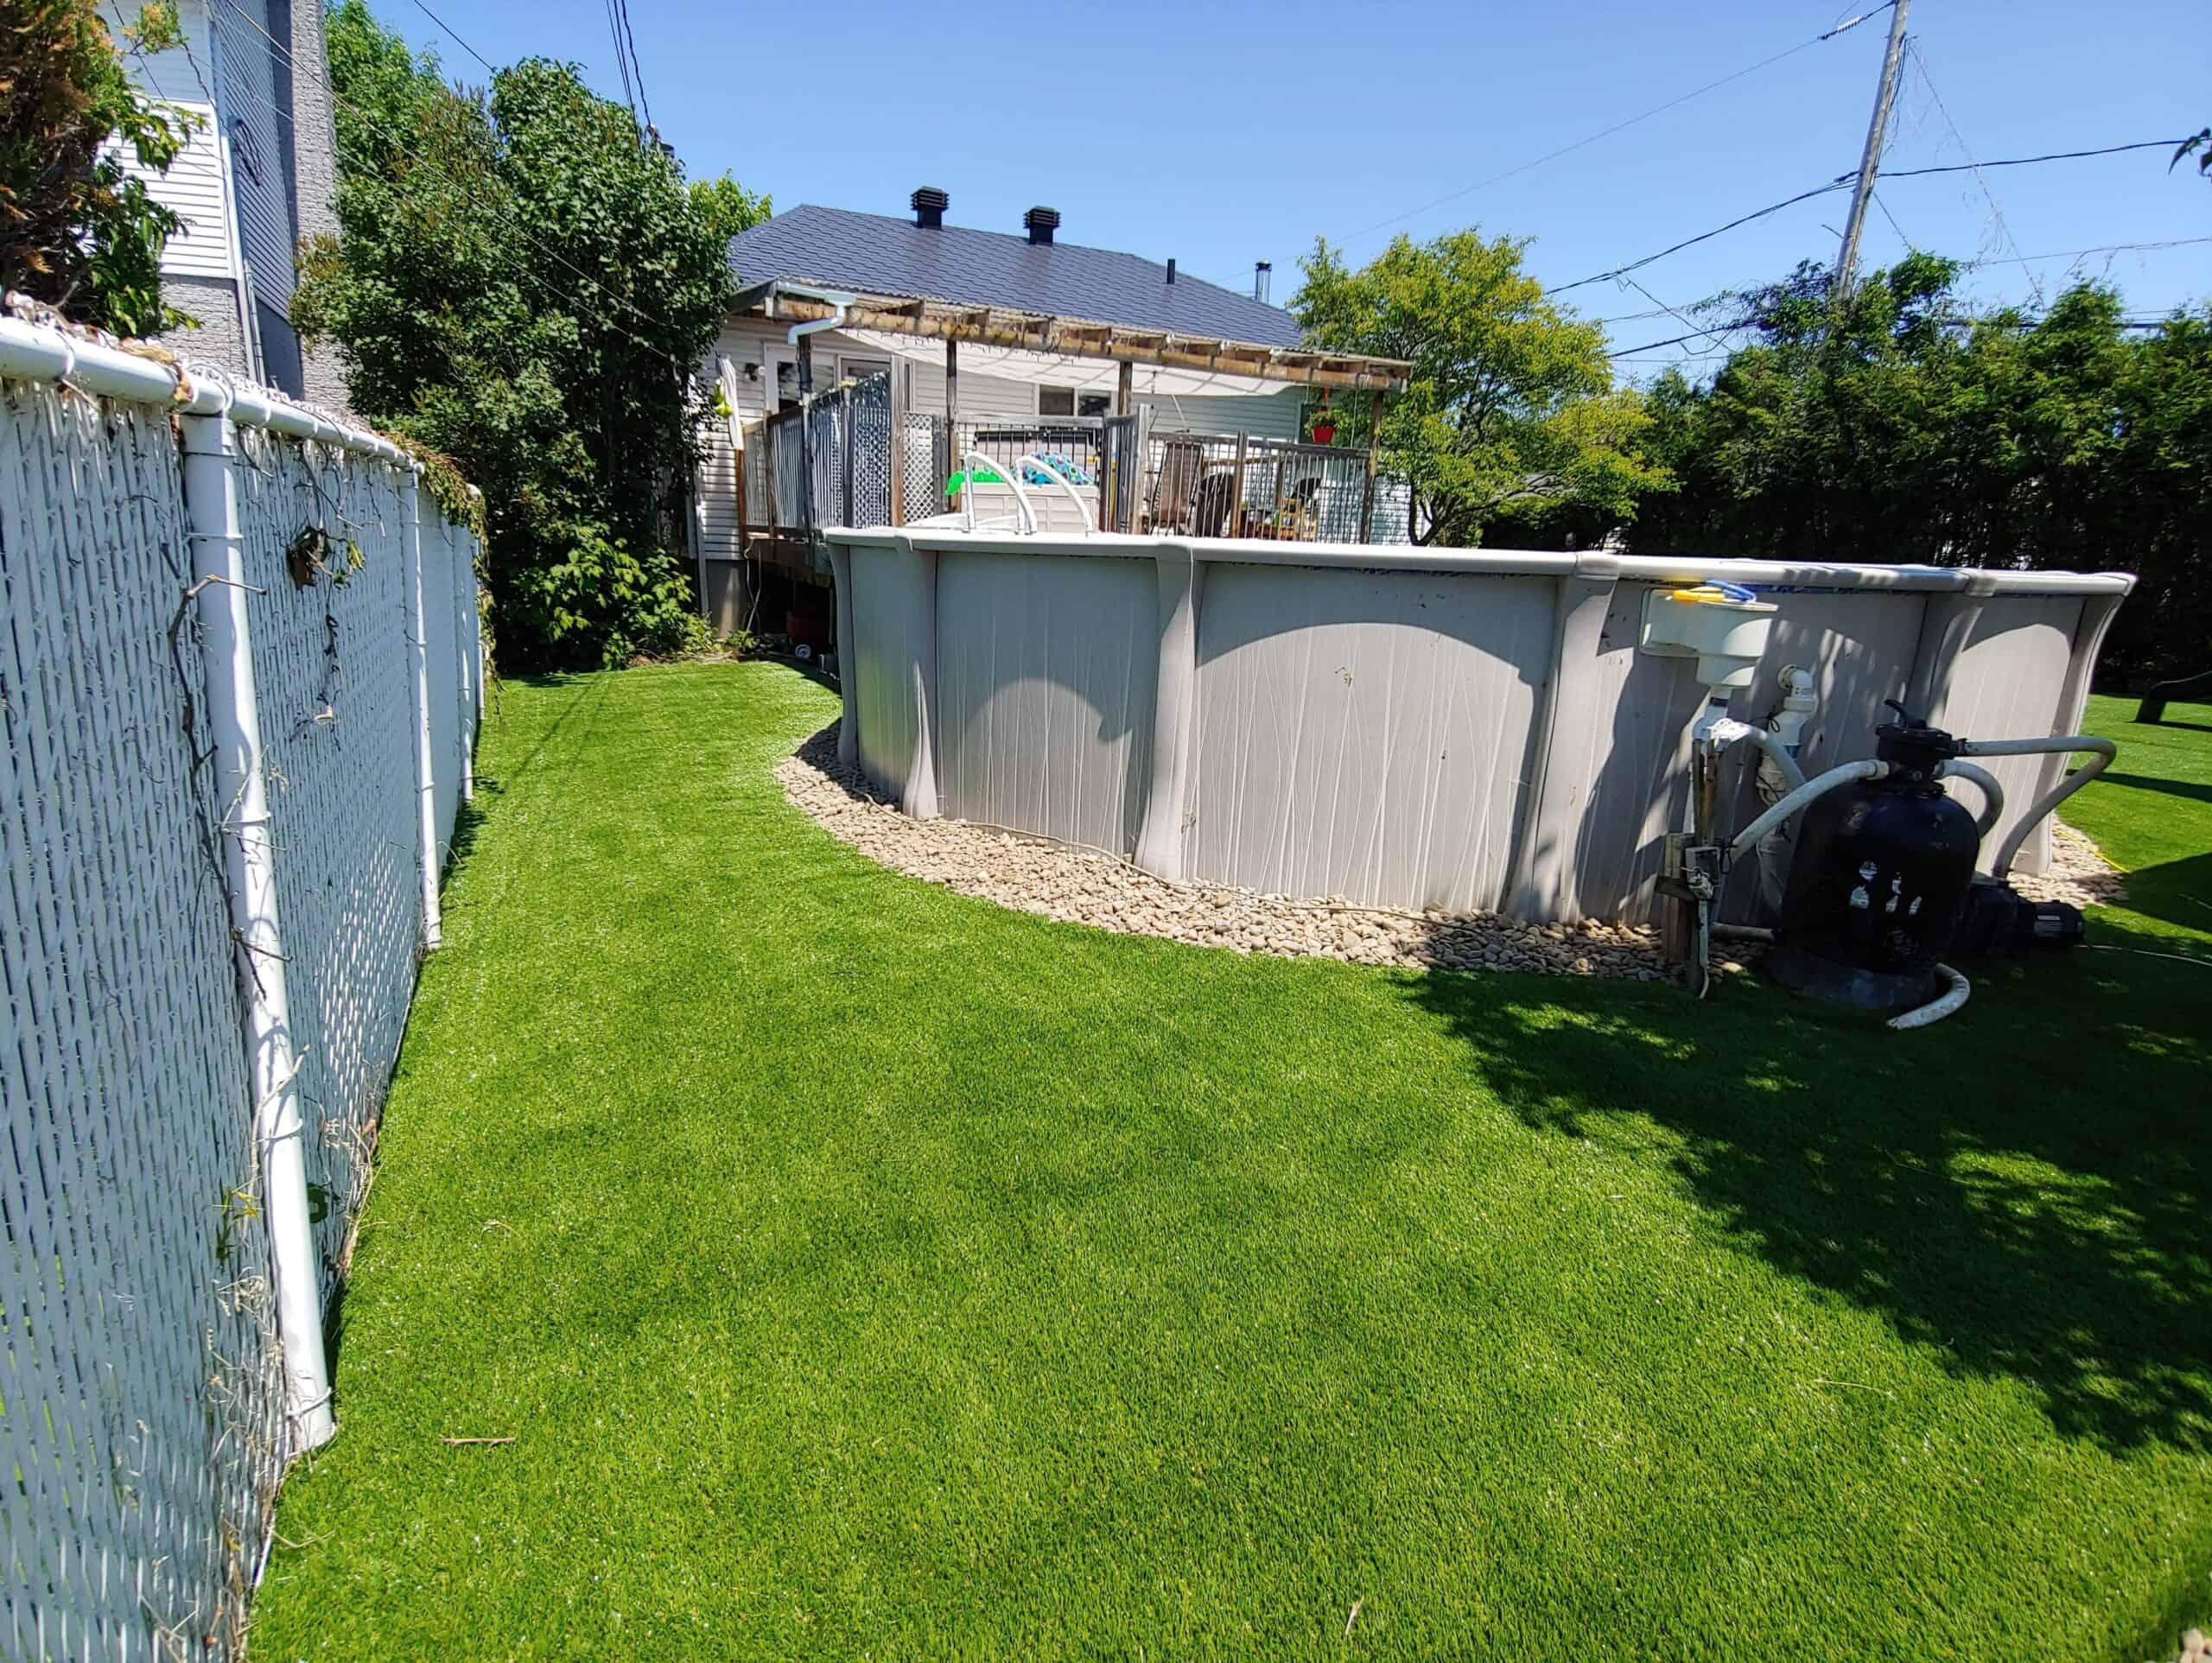

Artificial grass installation: the main steps
Installation starts with a site assessment, support preparation and grading, followed by laying the turf and inspecting the finished surface. The work required depends on the site and the selected system.
- Define the project: measure each area, identify the intended use, check access and observe where water flows.
- Prepare the support: determine the removal, excavation and base work needed for the site.
- Set the levels: check transitions to adjacent surfaces and the water drainage route before laying turf.
- Lay the turf: plan roll placement, cuts and seams according to the product instructions.
- Complete the system: finish edges and fastening, and apply the specified infill when required.
- Inspect and provide instructions: check seams, finishes and sensitive areas, then explain the maintenance routine.
What to include in your quote request
Send the project city, dimensions for each area, photographs, intended use and access widths. Point out low spots and areas where water collects.
How long does installation take?
Timing depends on the area, preparation work, access and weather. The schedule is confirmed for each project; a single duration would not accurately describe every installation.
Cutting layout: plan the pieces before installation
A cutting plan compares available roll widths, the length to order, seams and offcuts. Pieces must maintain a consistent fibre direction. An offcut can be reused only if its dimensions, orientation and compatibility with the selected product allow it to fit the project.
Final installation checklist
- Compare the completed area with the perimeter specified in the quote.
- Inspect seams, cuts and transitions to adjoining surfaces.
- Check edges, fastening points and sensitive areas.
- Document areas to monitor for water drainage.
- Provide maintenance instructions and the applicable warranty documents.
Keep photographs of the finished surface and record any concerns during the final inspection.